
The magic of using the right tools…
All websites linked in this post are for your convenience. I have no affiliation with any of the linked businesses in any way.
Well this is a little later than I wanted it to be... Whoops!
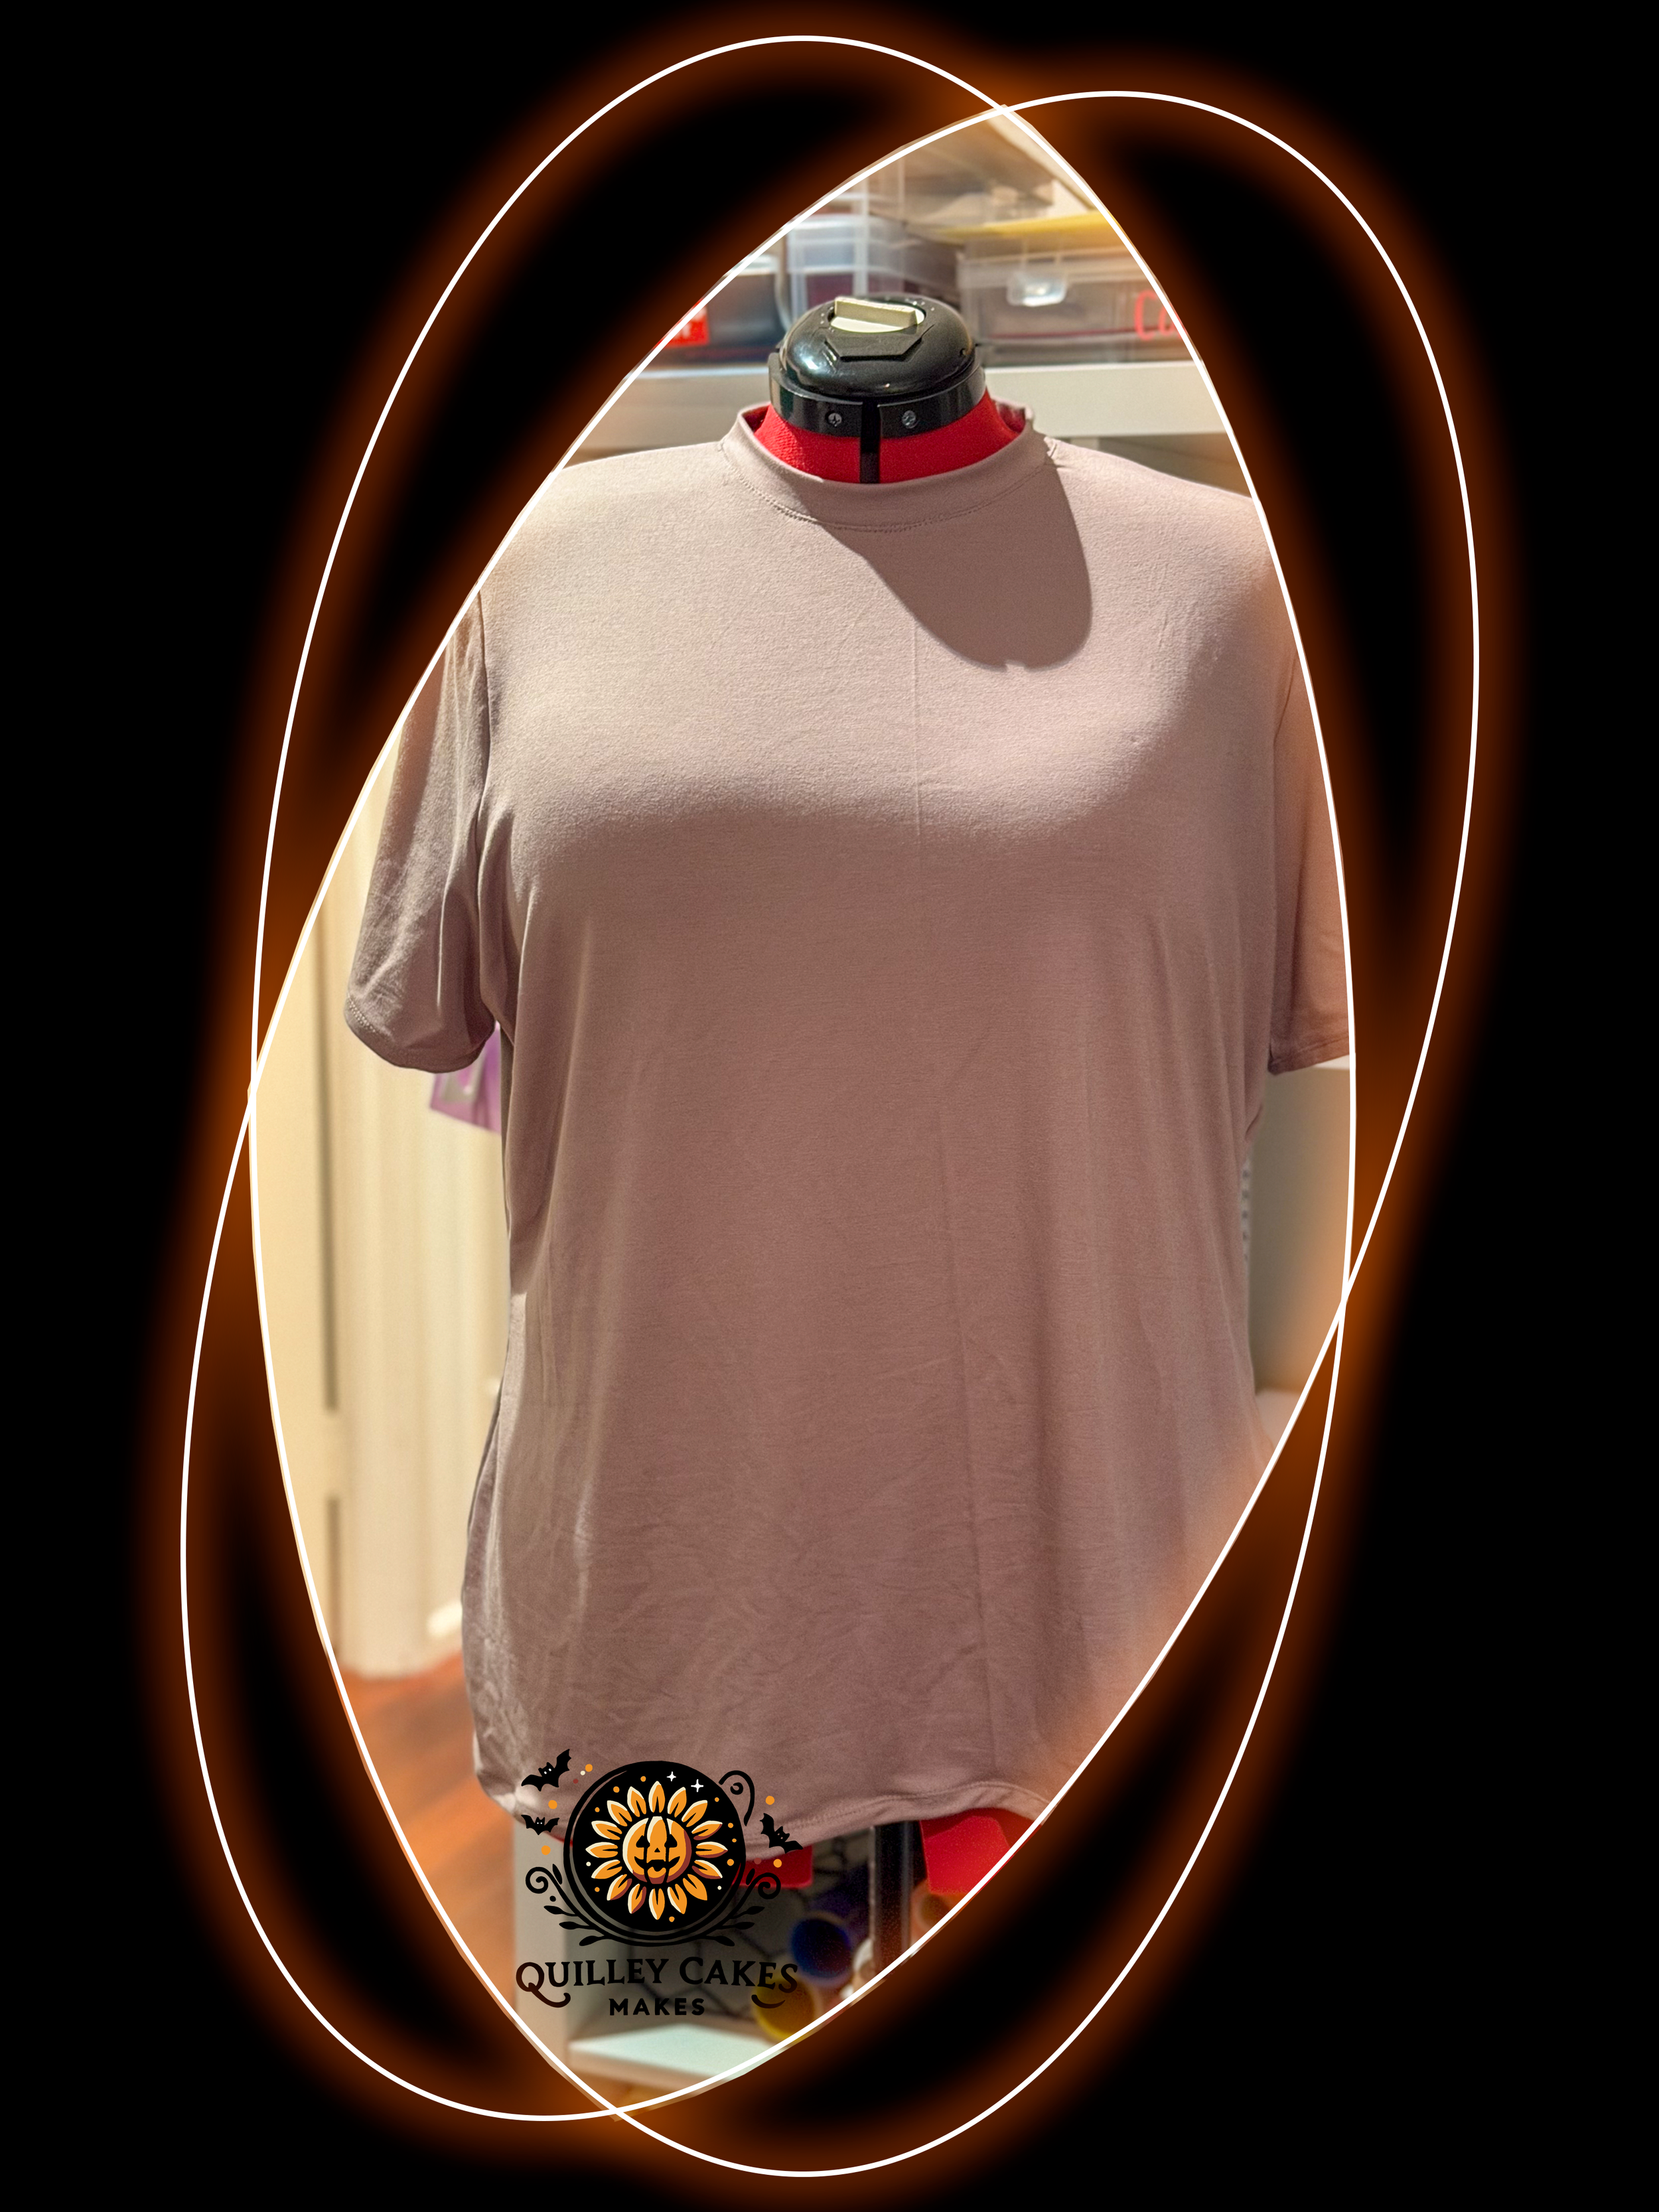
I’ve done a bit more sewing since my last update! I made a basic t-shirt, and I started on the Jenny set I was talking about before. The tee looks so good! It’s this light brown colour, and I made it a little bigger so it would be nice and comfy. But honestly, the biggest part I’m super happy with is the construction! The overlocker really made a difference on this one! So did having the right presser foot and needle, I suppose. I used a walking foot, and a jersey needle. A walking foot is really good to use with knit fabrics that tend to stretch a bit, or slippery fabrics that don’t like to stay still when sewing. It has feeder teeth up the top that work in tandem with the feeder teeth on the machine to pull the fabric through under the needle consistently. A jersey needle is also really good for knit fabrics as it has a more ball point tip, so it can slide between the threads of the fabric instead of piercing them. If I had these things when I was making my velvet dress for the ballet, it would have turned out so much better! The pattern I used to make the tee was a free one from Mood Fabrics, The Lavender Tee. It’s a pdf download to print at home, but the pattern is only four pieces, so it didn’t take that long to assemble the pattern and then cut it out. The instructions were pretty basic, but then again, so is the garment. My only complaint with the instructions is they get you to sew with a single needle to attach the front and back, then sleeves, then they get you to swap to a twin needle to hem the sleeves, then they want you to attach the neckband. They say to do it with the twin needle, top stitching, but I didn’t know how to do this to attach the neckband, so I had to swap back to the single needle to attach the neckband, then swap back to the twin needle again to top stitch. It was a little bit of a muck around. I’ll still definitely use the pattern again, I think it’s a great basic tee, it curves in a little at the waist, and the fabric I chose is really soft and comfy. I’ll just know for next time to get all the parts attached with the single needle first before switching to the twin for hemming and top stitching.
The same weekend I made the tee, I also made some maple-sweetened banana muffins. I got the recipe from Cookie and Kate and have made it a couple of times before. These muffins are soooo good, and I’d say relatively healthy. They make 12 standard size cupcakes, and these do not last long in my house! They’ve got oats, walnuts and choc chips added. Yum!
The following week, I finally made a start on the Jenny set. I purchased this set off Etsy from a shop called Chick a Frick. It’s another pdf download pattern you print at home. I made the top in one day, but I’m still yet to assemble the skirt. I ended up wearing the top out the next day to Oktoberfest at a friend's place, and I don’t think I like it... The sleeves are waaay too tight around the middle of my arms, and the overall top is too short. I know it’s meant to be a crop, but I don’t think this pattern was designed for people with a bigger chest in mind. It ended up sitting just below my breasts, and where they wanted me to put the button would have been on top of my chest, so I left it out completely. I think I’m going to have to go buy some more of the same fabric and find a different pattern. I still like the idea of what the set was supposed to look like, I just don’t think this top is for me. I’m hoping Mood Fabrics has something I can use, so I don’t have to pay for another pattern. The instructions for assembling the top also weren’t super great. They started off really well, nice and clear, but as we progressed the instructions just started to become less detailed. There’s at least one part I had to guess entirely on what to do, and a couple others that didn’t turn out great because the details were lacking. I’ve pre-read through the skirt’s instructions and they seem easy enough, although I am adding a lining to it, but I’m sure that won’t be too difficult.


I’m going on a day trip this weekend in my brand new car (!!!) so I’m not sure if I’ll have time to sew the skirt together, but I am hoping to take my camera and play around with some settings I’m learning about! I’ll keep you updated on how things go!
Till next time,
Quilley Cakes xx